Setting Up Your First React Project: A Step-by-Step Guide
React has emerged as one of the most popular JavaScript libraries for building user interfaces. Developed by Facebook, React simplifies the creation of interactive UIs and managing state in applications. This guide is designed to help beginners set up their first React project, providing a step-by-step approach to get you up and running.
But before we begin, let's try to answer a couple of questions.

Why Choose React code?
Component-Based Architecture — its component-based structure allows for reusable, maintainable, and scalable code. Components can manage their state and be composed to create complex user interfaces.
Strong Community and Ecosystem — has a vast and active community. This means extensive resources for learning, a plethora of third-party libraries, and regular updates.
Virtual DOM — its Virtual DOM (Document Object Model) ensures efficient updates and rendering of the UI.
Flexibility and Integration — it can be integrated with various libraries, for example, Redux for state management. Its flexibility allows it to participate in diverse projects, from small widgets to large-scale applications.
Backed by Facebook — it is maintained by Facebook, which means it enjoys robust corporate support and continuous development.
Strong Job Market — the demand for React developers is high, making it a valuable skill in the job market.
Are There Alternatives?
React is not the only choice you have. You can find many who would argue that it is not the right one ;-).
There are countless alternatives to React — something quite typical of the JS ecosystem.
Here are a couple of examples:
Angular is a full-fledged MVC (Model-View-Controller) framework offering a comprehensive solution with strong typing through TypeScript, which can lead to more maintainable code. Steeper learning curve due to its complexity and range of features.
Vue.js is similar to React but is often considered easier to learn due to its more straightforward syntax. Its two-way data binding can be a preferred feature for some developers. A smaller community than React can mean fewer resources and third-party libraries.
Svelte is an innovative approach where the framework compiles away, leading to smaller bundle sizes and faster runtime performance. It's gaining popularity for its simplicity and efficiency. It is relatively new and has a smaller community and ecosystem than React.
HTMX is a modern web front-end development tool designed to enhance the capabilities of HTML, making it easier to create dynamic and interactive web applications. With its small size and efficient operation, HTMX ensures a minimal impact on performance, making it ideal for projects where speed and resource efficiency are crucial. It relies on the server to render dynamic content, which may not fit all architectural needs, especially in applications requiring heavy client-side processing.
Blazor is an open-source web framework part of the ASP.NET Core framework developed by Microsoft. While it is not JS-based, it could be an excellent choice for a C# programmer (myself included).
WebAssembly + Rust using these technologies together is a powerful combination. Rust's performance and safety features make it an exceptional choice for compiling to WebAssembly. There is a reason why Rust is used to develop Linux kernel and accepted by Some rather opinionated programmers ;-). This allows developers to write high-performance web applications with Rust's advantages while leveraging WebAssembly's speed and portability. However, this combination also inherits the complexities and limitations of both technologies, such as dealing with interop between Wasm and the JavaScript ecosystem and the learning curve associated with Rust.
You can see different stats to ensure that you’ve chosen wisely — by deciding to learn React still.
Let’s start with the popularity of a given framework in the community.
What is the experience of other developers with a given technology.
Job offerings for those who know it.
Step 1: Prerequisites
HTML, CSS, JavaScript
Before diving into React, ensure you have (at least) a basic understanding of HTML, CSS, and JavaScript. You don’t need to become an expert in any of those, but a solid base is absolutely necessary.
Here are a couple of resources that could help you with that.
Of course, your buddy ChatGPT or many of its compatriots from the AI camp can help you, too — but remember it is hallucinating occasionally, which could be especially problematic for the newbies. IMHO, without a good plan, your learning based (only) on the AI interaction could lead to something that I would call “patchwork programming” (a modern incarnation of the “copy-paste programming”).
- HTML / CSS: Learn the Introduction to HTML/CSS
After learning the basics of CSS, you might want to learn some frameworks (for example):
- TailwindCSS: Learn TailwindCSS – Course for Beginners
- JavaScript: Learn the JavaScript Core
While it is not absolutely necessary, and some would argue that these days it might not be preferred, I would suggest you to spend some time learning TypeScript:
- TypeScript: Learn the Introduction to TypeScript
As I am a big proponent of the project-based approach to learning, I would recommend the Hyperskill offer:
Node.js
Additionally, you'll need Node.js and npm (Node Package Manager) installed on your computer. Node.js is a runtime environment that allows you to run JavaScript on the server side, and npm is a package manager that simplifies the process of installing and managing JavaScript libraries:
- Node.js: Learn the Introduction to Node.js
If you want to use only cutting-edge technologies (could be fun but not necessarily equal to more job opportunities), you can investigate Bun instead of Node.js:
Bun Tutorial – JavaScript Runtime (Node.js Alternative) - Full Course
Step 2: Installing Node.js and npm
Visit the Node.js website and download the latest stable version for your operating system.
Follow the installation prompts. npm is included with Node.js, so installing Node.js will also automatically install npm.
Step 3: Setting Up a New React Project
Now, the tricky part begins.
You can find many suggestions online that you should start your new project by using create-react-app command.
Before you do so, please read this (official statement from the Rect developer team):
If you want to build a new app or a new website fully with React, we recommend picking one of the React-powered frameworks popular in the community.
Hold on, what?
Well, React — the library is just that, a UI library created to help you develop SPA applications. While you can create exactly that, these days we often require a little more, and here comes a new (ancient, in fact :-)) dea of server-side rendering.
React is trying to help you with that, but being a client-side library is limited in its capabilities. If you look at its repository, the last release of React is a bit old (it was created on June 14, 2022).
Does that mean React is a dead-end, and we should look for something else already?
Not so fast. While React (the UI library) seems stuck (well - let’s call it stable as it sounds nicer), many projects based on it are actively developed and adding these server-side capabilities. These projects are full-fledged frameworks, not just libraries.
One of these projects is Next.js (which I will use as an example). There are other popular contenders, for example, Astro.
To start a new project in Next.js (provided that you’ve installed Node.js already), you should type:
This way, I’ve created a new React (Next.js, to be precise ;-)) project that will be placed inside the inventory folder using all the fancy options: TypeScript, TailwindCSS, and App Router instead of Pages Router.
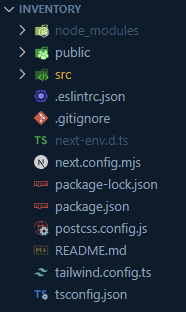
Step 4: Understanding the Project Structure
Your new project (created — in my case — inside the inventory folder) will have several files and directories:
Step 5: Running Your React App
Inside your project directory, run the following:
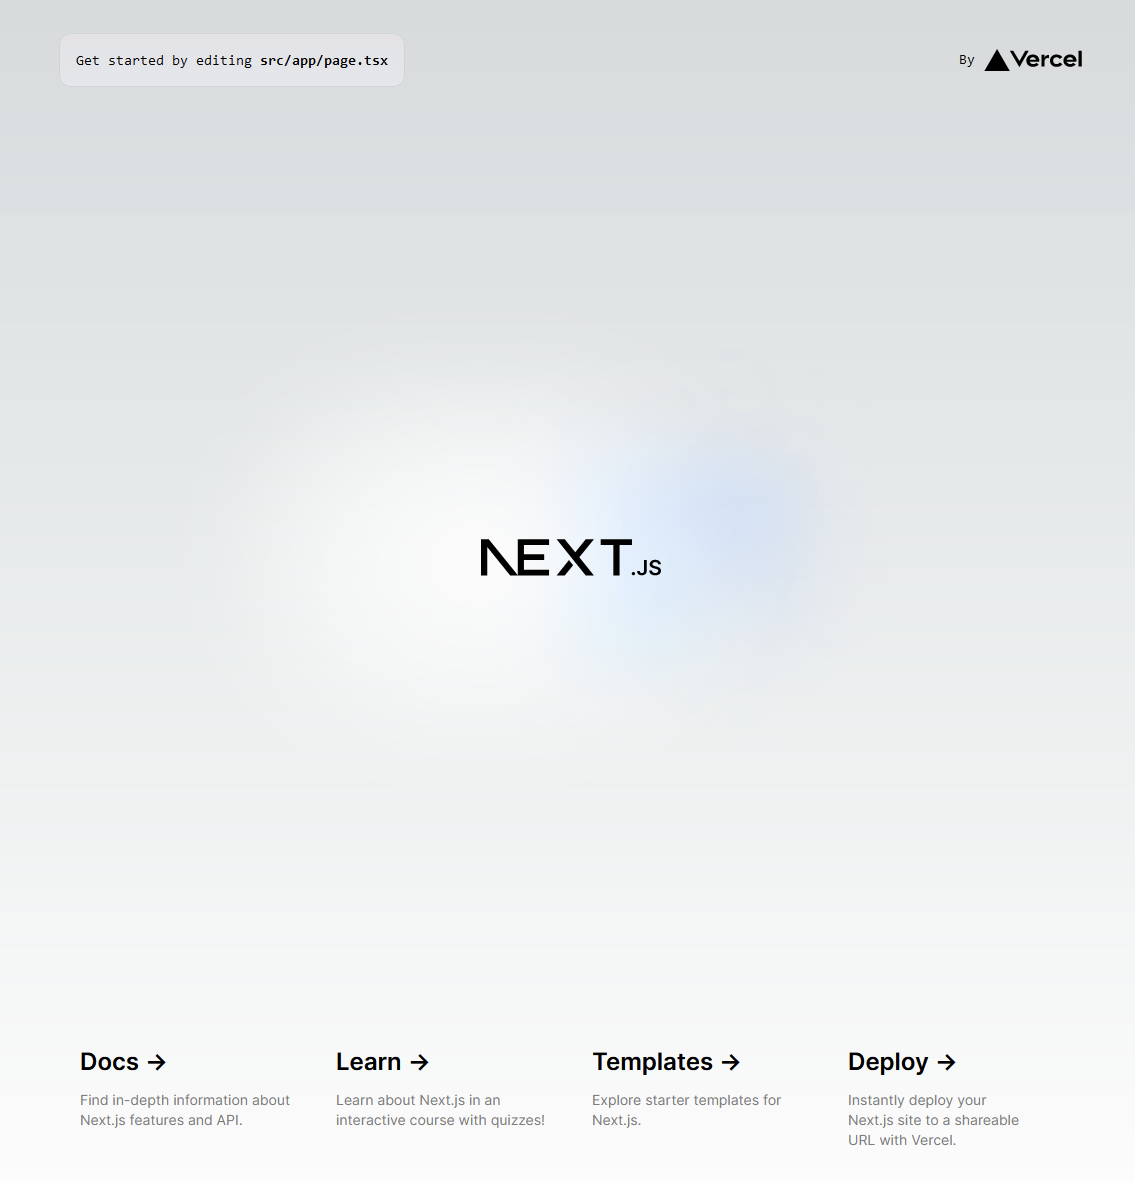
This command starts the development server and opens your React application in a web browser.
The default React app will run on http://localhost:3000 :
Step 6: Editing Your First React Component
Open the src/app/page.tsx file in your code editor.
This file contains a sample React App component. Try modifying the HTML inside the return statement and save the file.
Let’s remove — almost — everything that’s inside. We will (probably) add something new in the future :-).
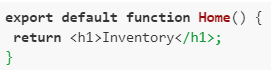
Your changes will automatically be reflected in the browser (I know it is not looking that great — but, well, it works).

Step 7: Learning React Basics
Spend time understanding the basics of React:
- components — reusable pieces of your UI,
- JSX — a syntax extension that allows you to write HTML-like code inside JavaScript,
- state and props — critical concepts for managing data and behavior in React.
Step 8: Further Learning
React has a vibrant ecosystem and a vast community. To deepen your knowledge, explore:
- React documentation for official guides and tutorials,
- Next.js documentation as we decided to use it,
- online courses, tutorials, and community forums for additional learning resources.
- experiment with adding new features and libraries to your project.
Conclusion
Congratulations!
You've successfully set up your first application in React.
This is just the beginning of your journey with React. As you become more comfortable with its concepts and syntax, you'll be well on your way to building sophisticated web applications.
Remember, the React community is vast and supportive, so never hesitate to seek help to share your learning experiences.
Happy coding!
Related Hyperskill topics
like this
Create a free account to access the full topic

