Introduction to the curses Library in Python: Text-Based Interfaces
With pet projects, you may think that even if you are a beginner, you want to make your terminal-based applications look better. Maybe an excellent menu, a console that refreshes the terminal window instead of repeating big blobs of text, adding some style, etc.
Creating a full-fledged GUI for the day's quote might look like overkill. A text-based coffee machine project doesn't need a mobile application yet. And how would you do it if these projects seem hard to make? GUI? Knocking your head against the wall? No, thanks!
Luckily, we have many tools that were used before GUIs existed.
All these beginner's pet projects have one crucial aspect in common. They are all usually text-based applications, and they all run in your text-based terminals.
We'll grasp the basics of `curses` in just a second. But first, you might have some questions. Aren't these programs obsolete? Are there any places where people still use them? And the answer to the first question is NO; they are NOT outdated! You can find many little programs on the Web that people do for fun and to expand their knowledge about Text UIs (TUI). If you work with servers, system configurations, or OS installers, you'll tend to use text-based UI programs even if you work in the `nano` text editor from time to time or read a `man` page. All of these are text-based UIs.

Let's get started
We will use the `curses` Python built-in library for our introduction to text-based interfaces. This library is not that difficult and will give us some understanding of text-based UI basics.
`Curses` is based on `ncurses`, a library for C/C++. Even if it has covered a lot of original functionality, some of it can be missing in the Python implementation. If you want to use something more advanced in Python, you can use urwid.
`Curses` is available for Unix machines, so you don't need to install anything. For Windows, you need to install the windows-curses module. Type `pip install windows-curses` in your terminal to install it. You also can use WSL; it will work just fine.
Without further ado, let's write a simple program.
That's it. If you run it without any errors, you may say that `curses` is supported and works fine on your system. Later, when working with some concepts alone, you might face some issues because the terminals are different and may have some quirks. Please refer to the man pages or try to find the solution to the problem online. For example, some functionality may not work in a Windows display terminal, so I'd recommend using xterm/WSL+xterm (at least for educational purposes).
To continue working with `curses`, we might want to import a wrapper; this wrapper will initialize some boilerplate code for you, and most importantly, it will restore the state of your terminal if any error occurs during the execution, so no funny behavior for your terminal, e.g., changed colors or invisible characters.
Any work should be done within the `main` function using the `stdscr` object.
You might have already noticed that we have the `stdscr` object as a parameter in the main function. This is the main window object in the session. Everything that you want to display on the main window should be attached to this object.
Note that there could be many sub-windows. Here, `stdscr` is the main one.
One of the key functionalities of the text-based UI is the text.
So let's write something to our terminal.
Write these four lines inside your main method:
`clear()` will clear the main window (main because it's called on stdscr)
`refresh()` is used to update the entire screen to reflect our changes
`getch()` is used to get a character, but we will use it as a pause, so our program will be closed only after we press something
`addstr` is the method to add a string. `10` is the Y coordinate, `20` is the X coordinate, and 'Hello, curses!' is our text. Notice that Y comes before X. You can omit the coordinates so that the text will be placed at the current cursor coordinate. You can also add some attributes; we will revisit them later.
You also can hide the cursor by adding `curses.curs_set(0)` at the start of the main method.
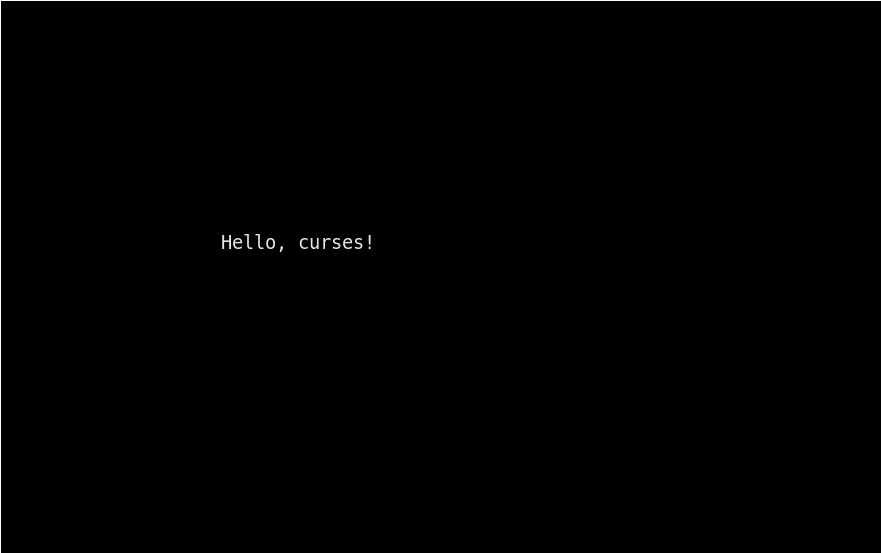
The output of our program. As you can see, there is nothing but our text.
If you want to add more text, place it at the coordinates you want. Note that putting text over text will not erase the previous text but just a part of it, exactly where the new text is located.
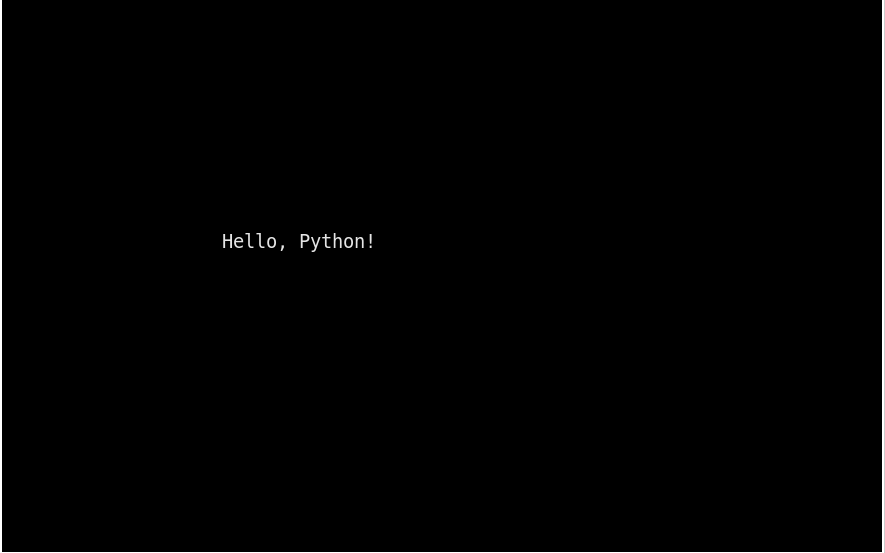
Try adding `stdscr.addstr(10, 27, 'Python')` after the text. Notice that it's replacing the word `curses` completely, but the exclamation point is intact.
Here is the complete code if you are lost:
Here is the output:
Attributes
Let's talk about the attributes of our text. They could be different styles, like bold text, underlined text, blinking text, or other colors.
Let's look at ten of them at once.
The output:
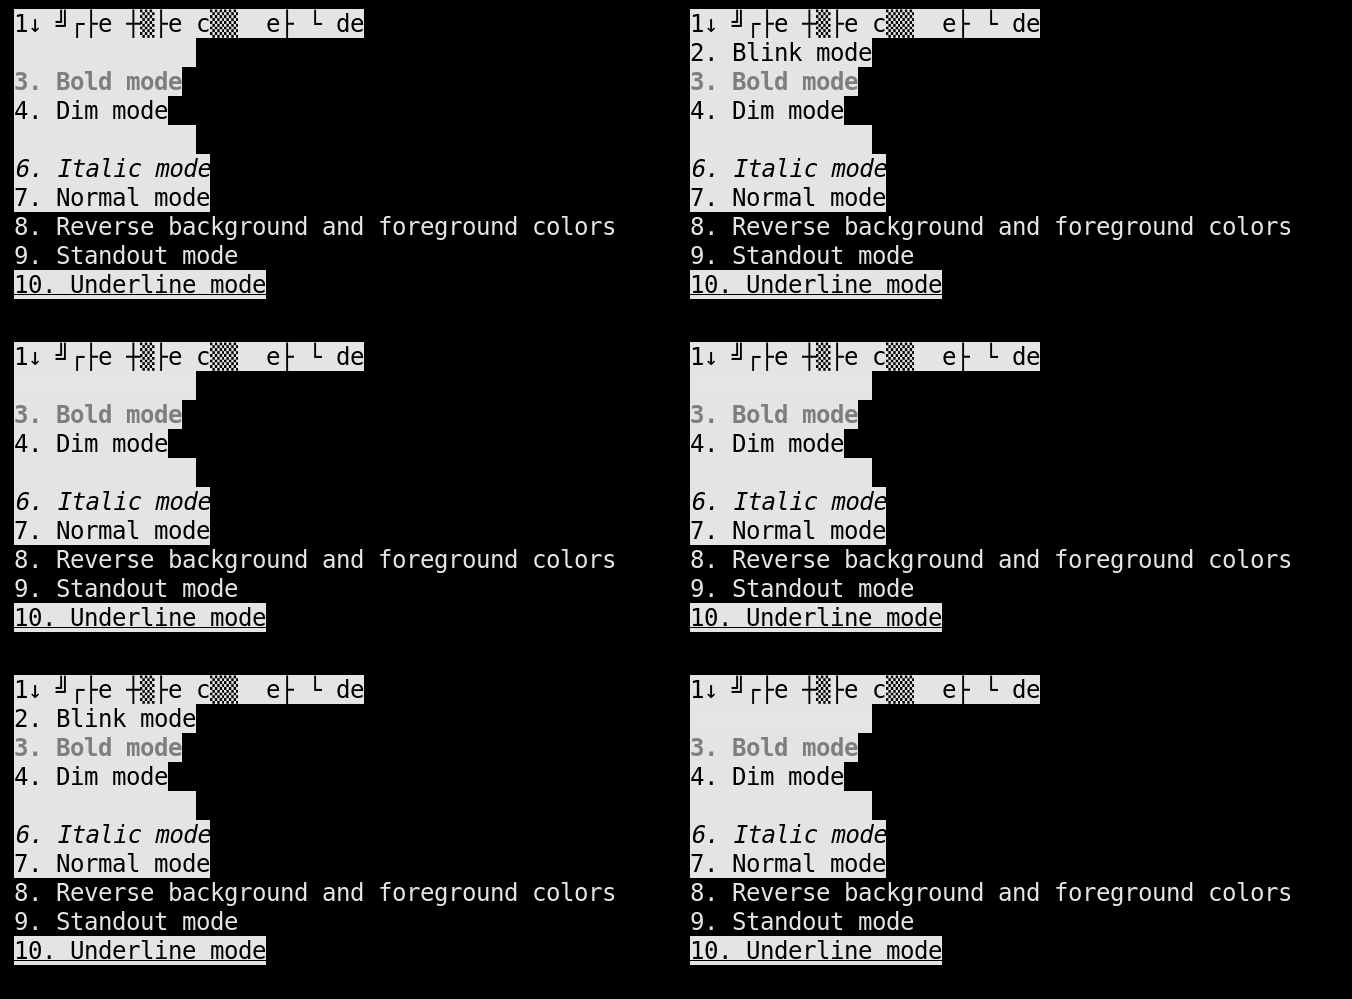
As you can see, blink mode is blinking, and blank mode is hiding. Everything works.
You might have also noticed something new in our code: a color pair. This is exactly how we add colors to our text and anything else. Create it first:
`1` is the number of the color pair
`COLOR_BLACK` here is a foreground color
`COLOR_WHITE` here is a background color
`BLACK_WHITE` is just a binding for our color, so we can easily use it in our code
Let's look at how we pass the attributes. `curses.A_BLINK | BLACK_WHITE`, we use the pipe symbol `|` between all attributes we want to use. It's a common practice in programming; we are setting bits and making changes based on the final value (you need values like `A_BLINK` to be integers for this technique).
You can find the list of predefined colors in the official docs.
Moving on with our knowledge, we might ask, "And now what?". Good question, my friends. Let's make our first simple curses application.
Making an app
Let's start with the menu. To create a menu, we can use a list for our menu elements, `menu = ['Tell Me a Dad Joke', 'Update Windows', 'Exit']`.
We should put our infinite loop (aka the game loop) inside the main function.
As you can see, now we are using the getch() function as we should. Get familiar with some constants for keys in the Python docs.
KEY_DOWN, KEY_UP, KEY_ENTER, and line feed codes (your Enter key most likely is acting like a line feed) are used to navigate our menu.
Everything is simple—press a key, change the row number, compare it with any possible actions for a row, move further, and update the screens.
The output:
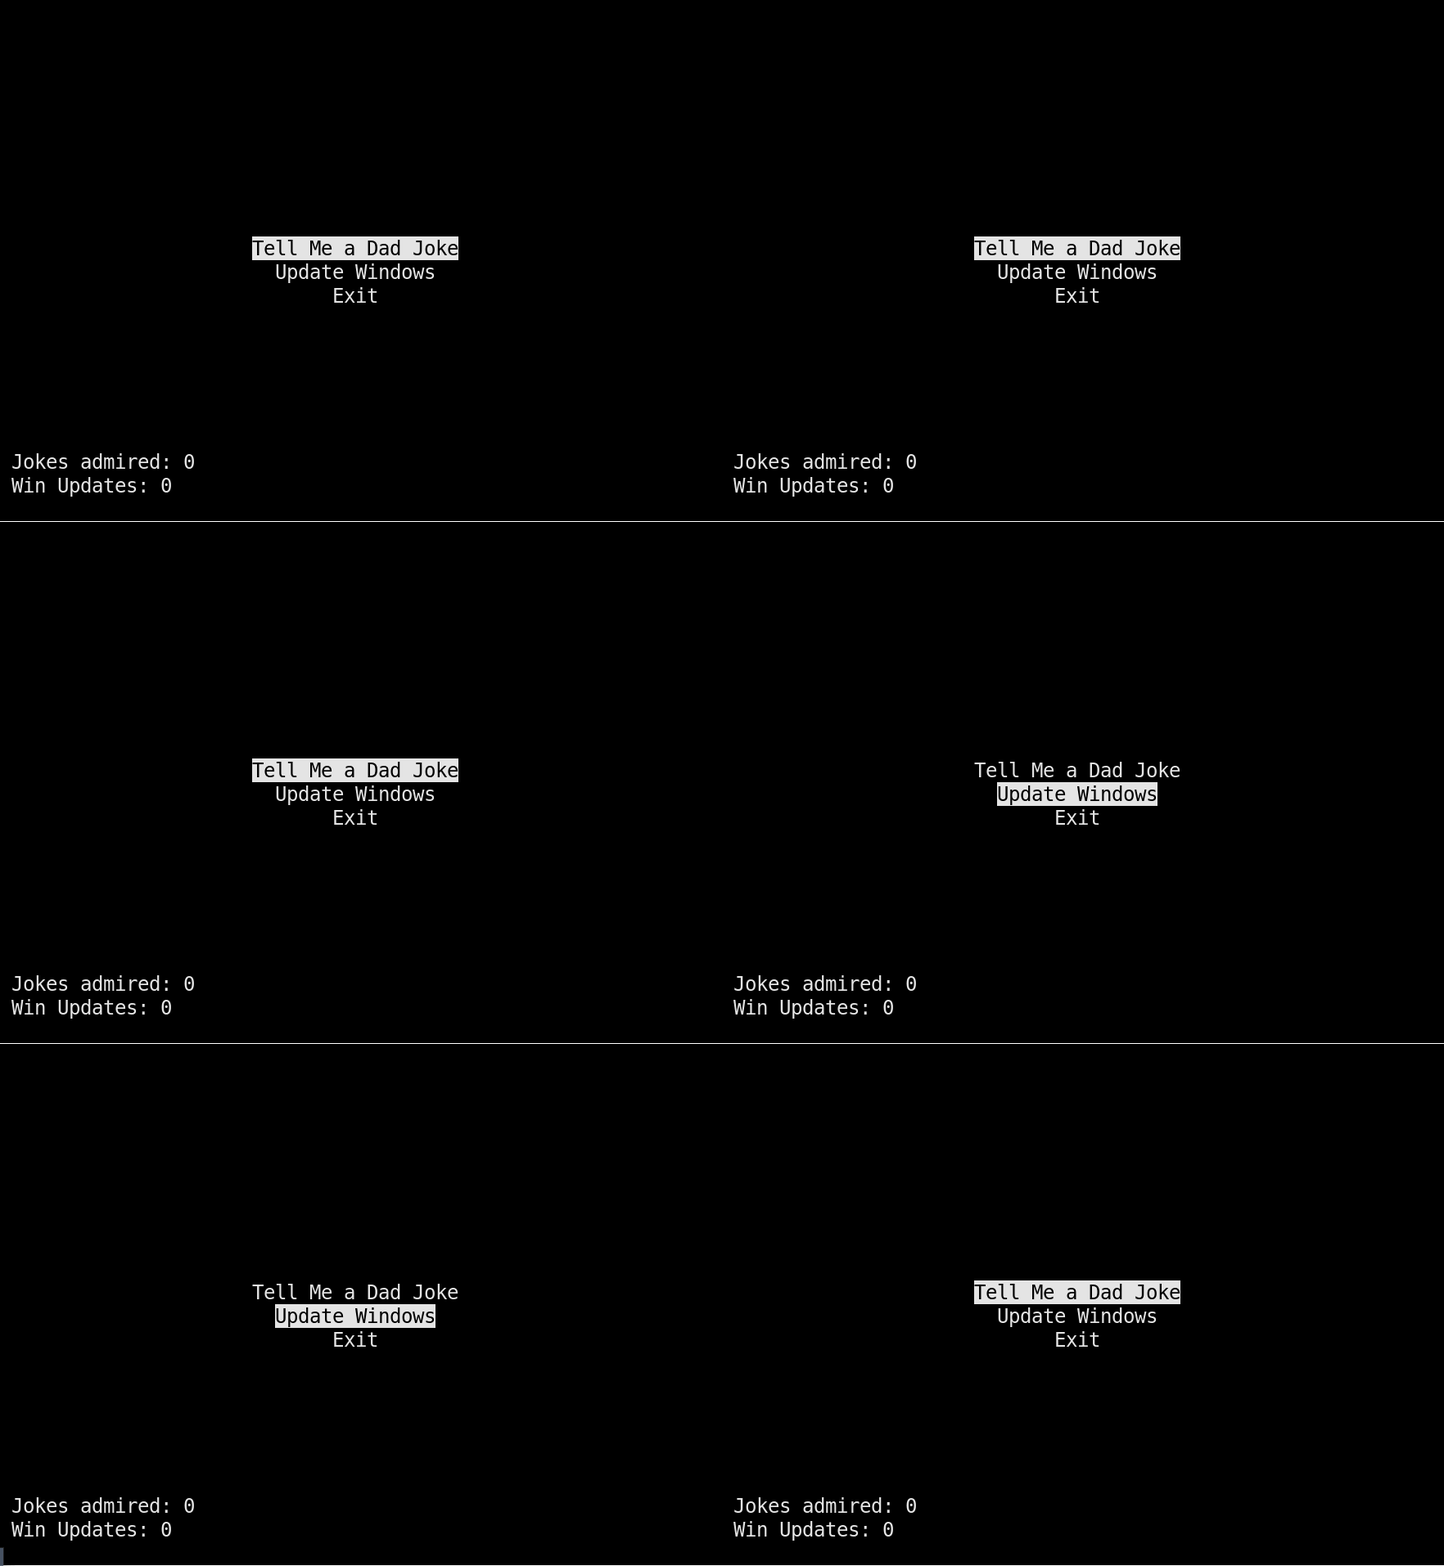
Let's talk about the placement. The menu is right in the middle. With curses, you can quickly get the screen size's max height and width with `stdscr.getmaxyx()`. After that, divide these values by 2 to get a middle point. However, our texts are not of size one. So, do you know a solution to this? That is the same process as we did before. We get the length of our text, divide it by 2, and subtract this value from our midpoint. As simple as that. A similar process goes for the height of our menu. Here is the code:
As you might realize immediately, `attron` and `attroff` are the functions that make our selected option different from any other. Just pass the attributes you want to apply and turn them off immediately.
In the previous GIF, we have seen two other lines, some stats, if you wish. They are not in the menu, not in the game loop. It's time to introduce a new concept: sub-windows.
We have seen the main window already; it's the `stdscr` object. However, nothing stops us from having more windows.
To do so, we must use the `curses.newwin()` method. We need to save it to some variable, and it's ready to use.
Here, `newwin` accepts four values, `2` is the number of lines (height), `20` is the number of columns (width), `height - 3` is the Y coordinate, and `1` is the X coordinate.
Note that if we want to add anything to this window, we must refer to `stats` and not `stdscr`.
You might also notice that we use `curses.doupdate()` instead of the plain `refresh()` function. It's because we need to update multiple windows at once. For a window to be ready for an update, we also need to call the `noutrefresh()` function.
Okay, it seems like we are close to the end, and we have gathered all key concepts: text, how to change text, and how to use sub-windows.
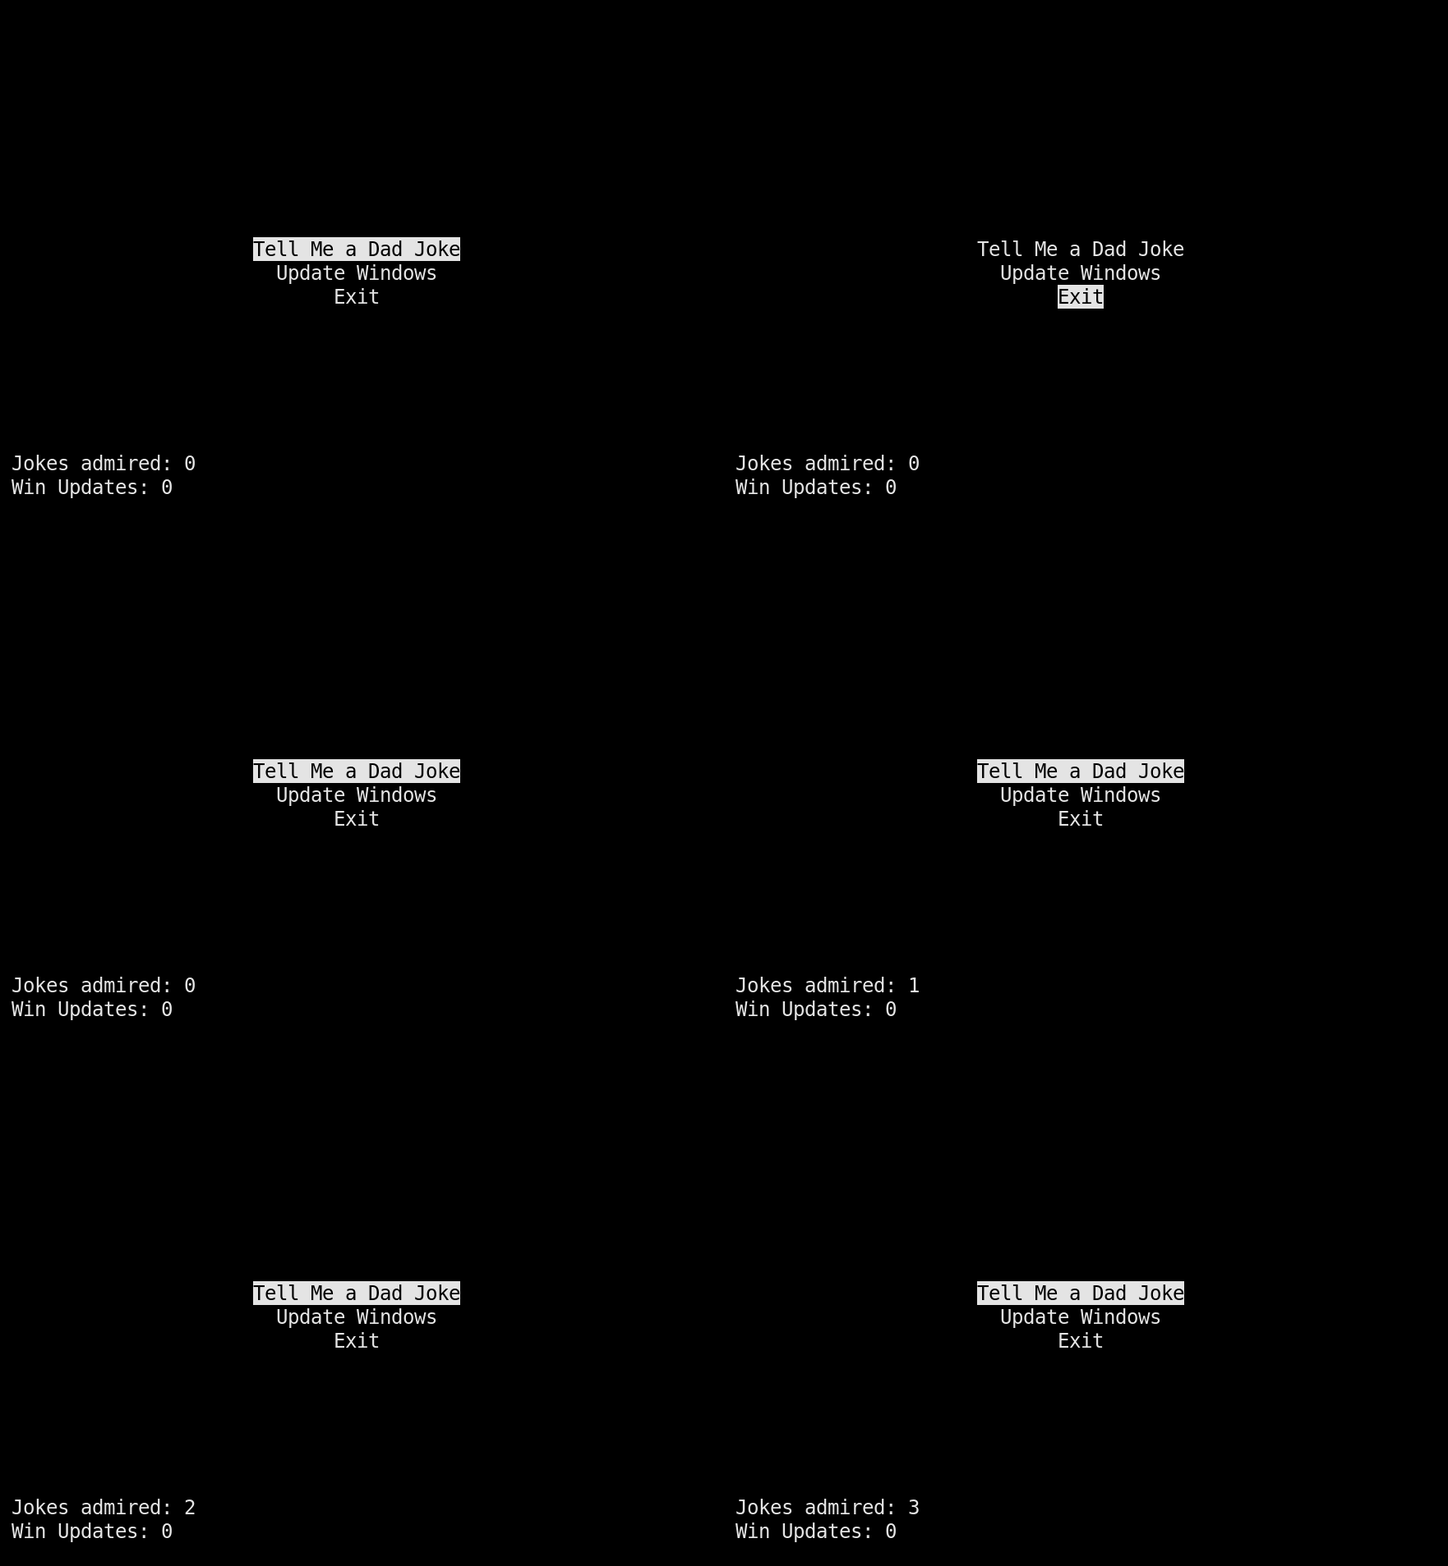
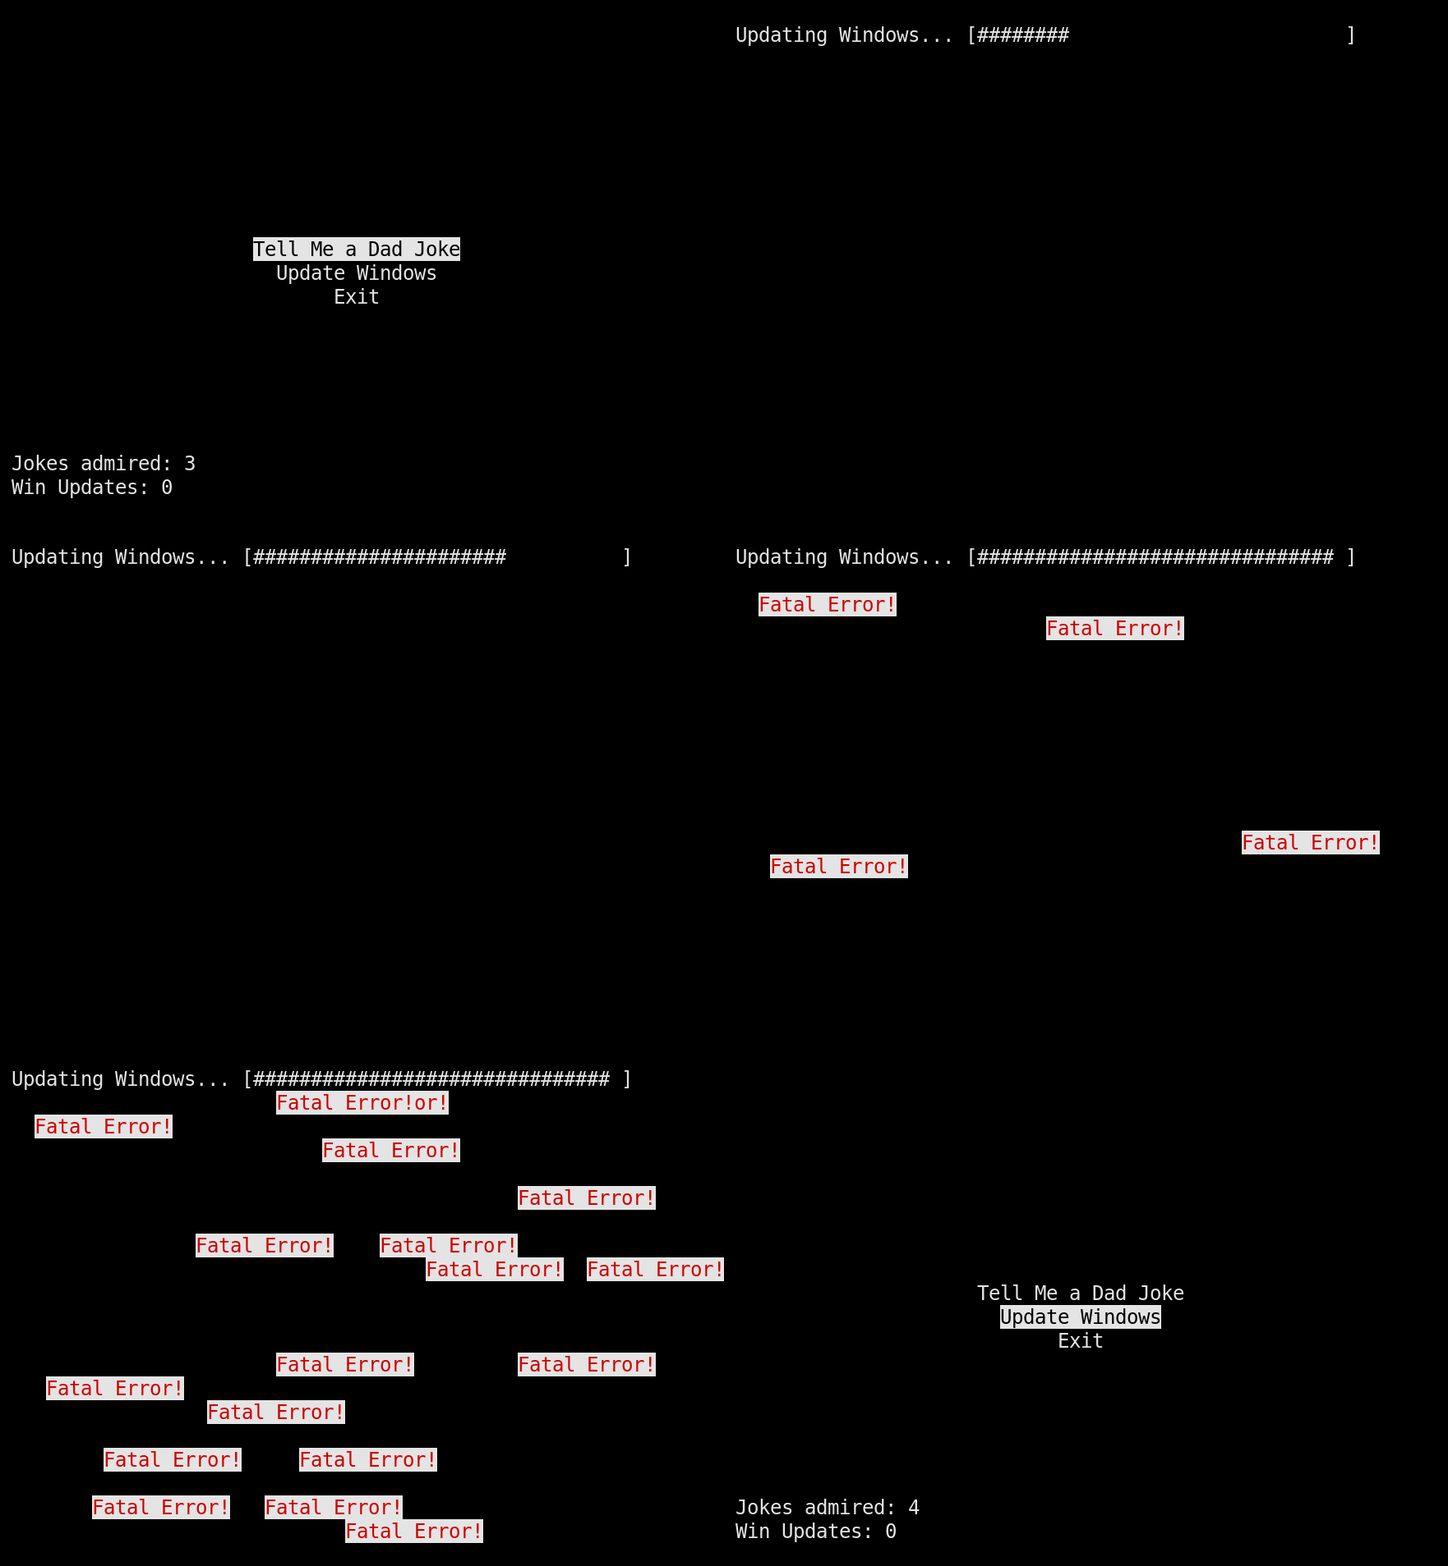
Here is what our options from the menu look like:
Tell me a Dad Joke
Get a Windows update
If you want to run the whole thing yourself, install the `requests` library via pip `pip install requests` and use a virtual environment. For example, write `python3 -m venv venv` and `source venv/bin/activate/` to your terminal using a Unix system.
I will not explain all non-`curses` details here, so ensure you understand the rest of the code. I tried to make the code as simple as possible without subdividing it into a waterfall of methods. Here is the complete code:
There are only two concepts left to discuss: pads and mouse events.
Pads
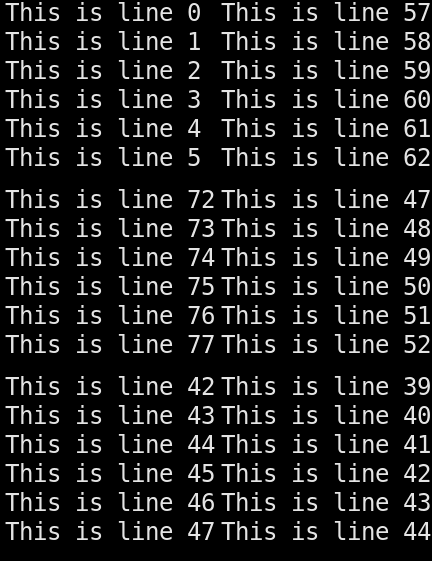
A pad is a scrollable area. The best example of it is man pages. You load lots of text from files and then peacefully scroll to the end and explore documentation.
Creating a pad is as easy as creating a new window. Here is an example:
The result is the pad with 100 lines and 20 columns. We are adding a bunch of strings to the pad and creating some mechanics to control the view. In our case, these are UP and DOWN buttons.
The scrollable area is the area that you refresh. In our case, we have 5 lines and 20 columns to show. Anything else is not scrollable.
Here is an example:
Mouse events
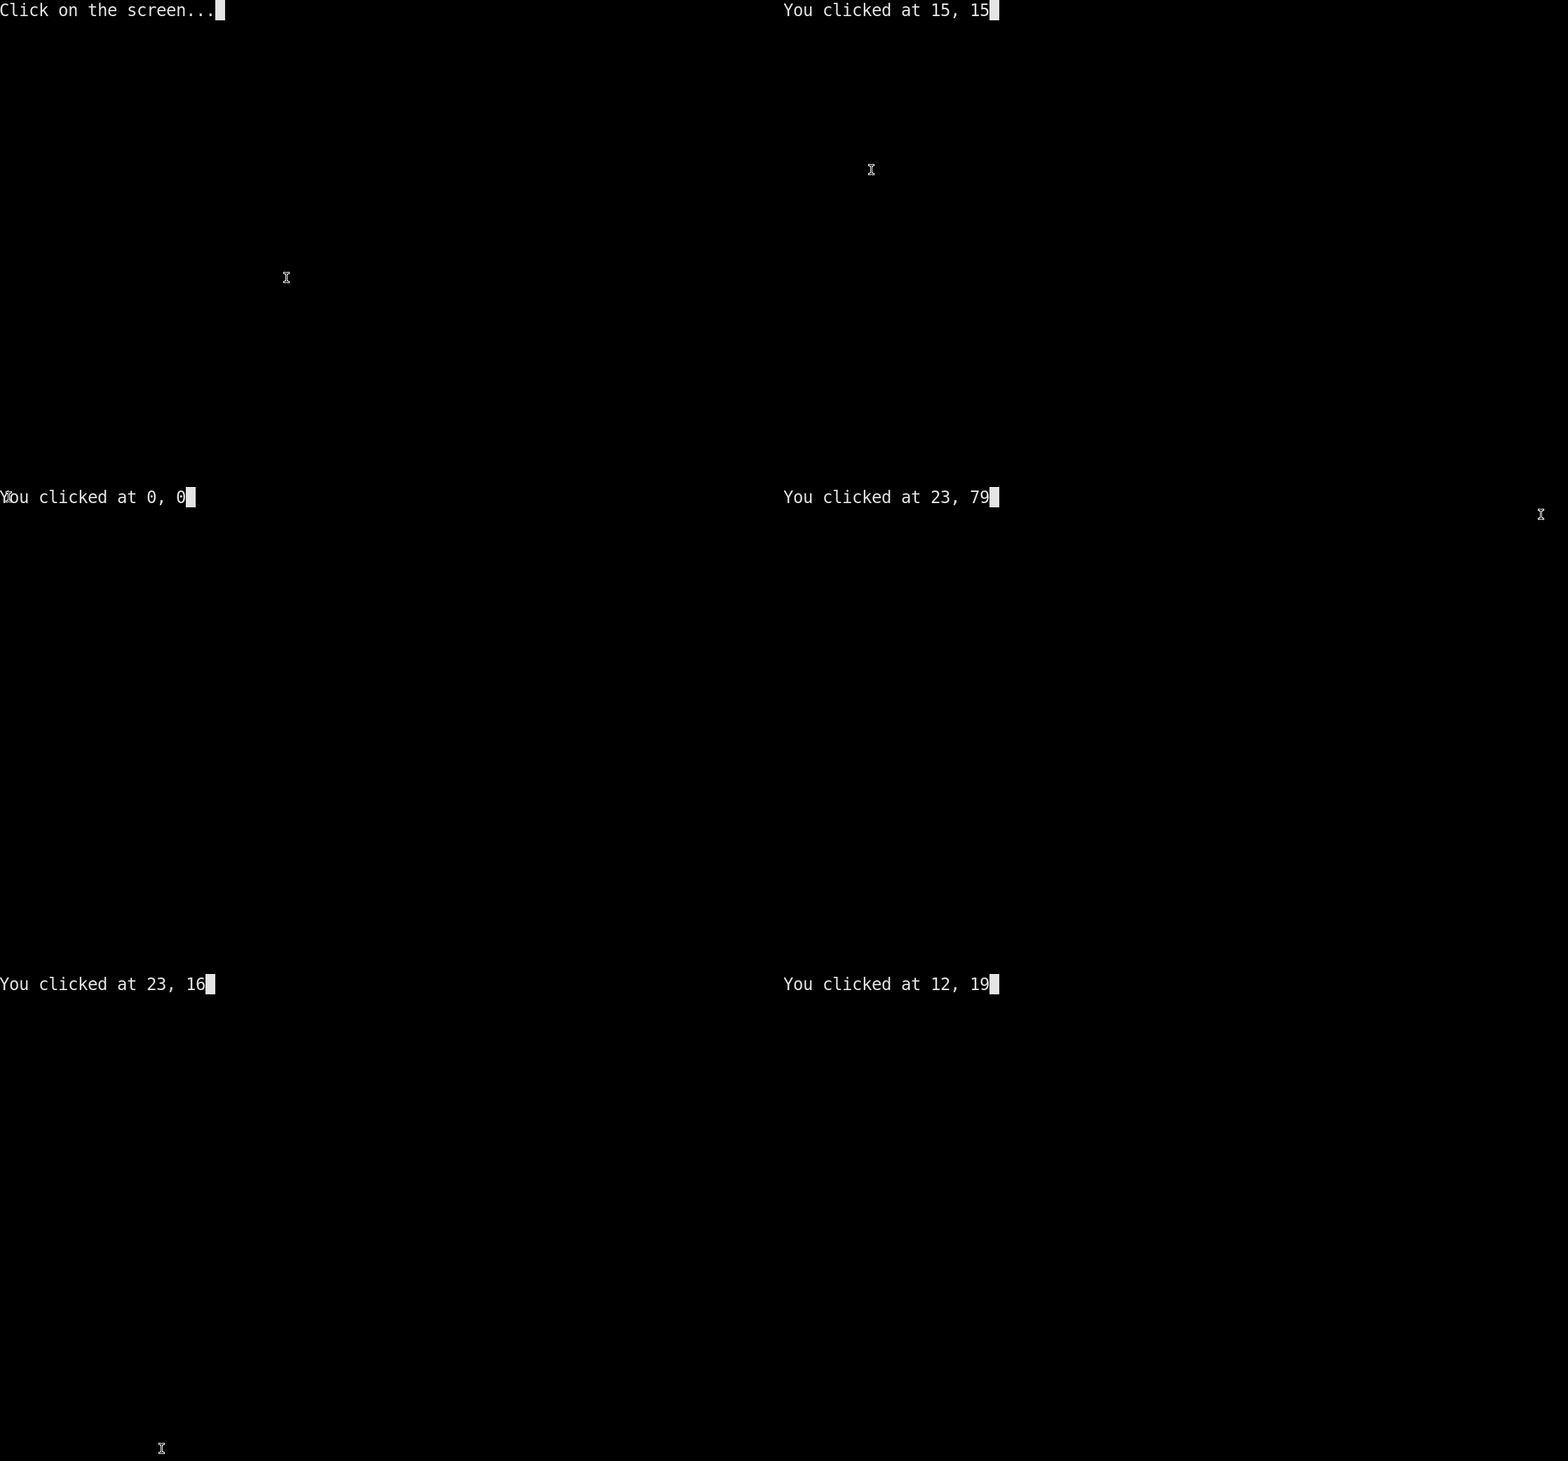
Capturing the mouse events is also not complicated. `curses.mousemask(curses.ALL_MOUSE_EVENTS)` will do the trick. Now, it's able to catch mouse and keyboard clicks. Catch it with `key == curses.KEY_MOUSE` and extract the coordinates if you want.
Here is the output:
Other interesting functionalities
You can always refer to the official `curses` documentation to gather some new methods and interesting aspects of the library. Here are some of them:
break(): allows you to enter the cbreak mode
echo()/noecho(): hides/shows your input; it is helpful if you need to enter a password
move(): moves the cursor to the specified position
nodelay(): disables delay, getch() is non-blocking now
And many more!
Conclusion
`curses` is a simple yet effective library for creating text-based UIs. It has some quirks, like throwing errors if the text is out of bounds. Some functionality may depend on your system or even the terminal you use. However, it's a good starting point in the world of text-based UIs, especially if you're familiar with Python and don't want to learn C/C++ yet. Text-based UIs can make your programs more interactive, user-friendly, and fun.
You can always add `Urwid` if you want something more as your next tool. Or search for something like 'best TUI library in year XXXX that any developer should know for free' and use it.
It's time to upgrade your programs with better interfaces. Take action!
Related Hyperskill Topics
like this

